Sundress!
(Thank you for all those enthusiastic comments about Petty Magic—I wish I could give every one of you a galley!) On a sultry day in Brooklyn last summer, I envied every girl out and about in a pretty sundress. Feminine vanity aside, they were keeping a lot cooler than I was in jeans. I wanted sundresses, one for every day of the week.

The pattern is Heather Ross's Mendocino sundress, which she has generously posted on her website. I usually try to buy from a designer/shop offering free patterns, and I did pick up some awesome Mendocino fabric via Fabricworm, but I decided to use it for a different dress out of Cal Patch's Design-It-Yourself Clothes: Patternmaking Simplified. (More on that later.)
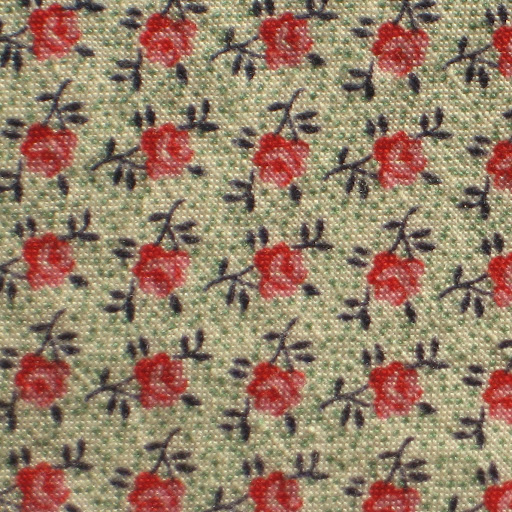
I know this is going to sound really nerdy, but I've been in love with this calico since I was a teenager. I'd bought a few yards of it at a mom-and-pop fabric shop back in high school for a dress I got quite a bit of wear out of but am much too embarrassed to show you, and every time I looked at that old dress in my scrap pile I wished I had more to sew something up using a proper pattern. I finally made it back to that shop before Christmas, and what do you know--they still had the fabric, and it was still four bucks a yard!
I remember Kelly saying (back in the day) that it was the sort of thing one's grandmother would wear--"in a good way." This fabric is very vintage-y (heck, it probably is vintage)--that's why I love it so much. A few notes, if you want to make this dress:
- It was $6.47 at FedEx Office to get the pattern printed on a 24 x 44" sheet of paper. A little bit more than I thought it would be, but taping a lot of smaller pages together would have been rather tedious. (Apparently FedEx ate Kinko's. Whatever it's called nowadays, the email-to-print service is pretty nifty.)
- The schematic indicates that you should position the pockets 14 to 18" below the top of the dress; I decided on 18" because I'm tall, but when I finished sewing the seams and tried it on (insofar as it could be 'tried on' at that stage) my hands hardly reached the pockets. I decided they weren't worth adjusting, seeing as I probably wouldn't use the pockets anyway, so I just ripped the pocket seams and stitched up the sides. But if I make this dress again I'll go with a pocket placement of 14".
- You need elastic thread for the shirring. A nice lady at Jo-Ann pointed me to Dritz brand in the notions section (with all the other types of elastic), which is a lot less expensive per yard than the smaller spools you find on the rack with all the other types of sewing thread. (It's $1.59 for 30 yards of Dritz versus 11 yards of Gutermann. Or you could buy a ginormous spool of it here, but I can't imagine ever needing or using $40 worth of elastic thread unless you're also making jewelry.)
- Found some handy tips at Projects & Preoccupations. For one, the back hem needs to be taken up a bit more than the front because of the extra fabric at the bust--that probably wouldn't have occurred to me on my own! So I pinned up the hem and tried it on before sewing.
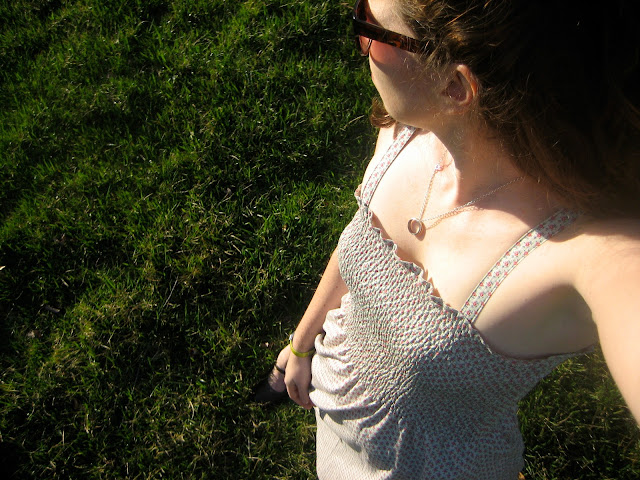
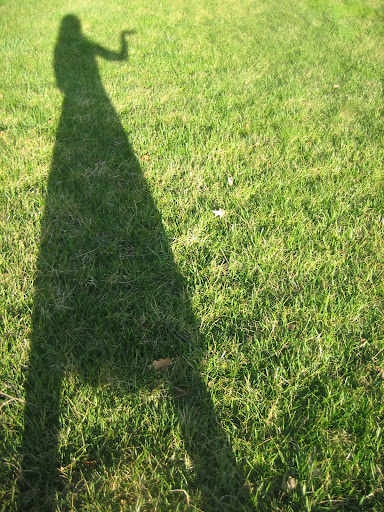
(Long-arming it. I wanted to get a detail of the shirring, but every close-up I took was basically 'and here are my boobs!') This dress was quick to make, too--took less than a week. The pattern says you can sew the whole thing in an afternoon, and if I make another one I'm sure it'll go a lot faster. I'm excited to be getting more proficient at sewing, but I have GOT to become tidier and more careful--I have a bad habit of dropping pins in the carpet. Yesterday I went for a run, and on my walk back to the car I felt something sharp in my sock. Yup. A pin. I'm lucky it didn't stab me in the foot. And last week I woke up and found safety pins under my pillow...at least they were closed!
(Thanks to my mother for the first photo.)